Exercise 2: Upload files to OneDrive
In this exercise, you’ll learn how to upload files to OneDrive using Microsoft Graph, including both small and large files.
[!IMPORTANT] This exercise assumes you have created the Azure AD application and .NET console application from the previous unit in this module. You’ll edit the existing Azure AD application and .NET console application created in that exercise in this exercise.
Task 1: Update the Azure AD application
The first step is to add a permission grant to the Azure AD application that will enable the .NET Core console app to upload files to the signed-in user’s OneDrive account.
-
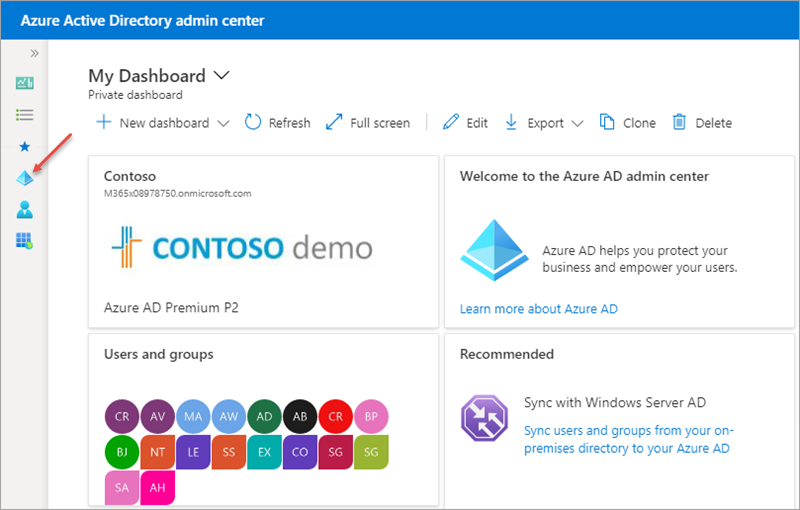
Open a browser and navigate to the Azure Active Directory admin center (https://aad.portal.azure.com). Sign in using a Work or School Account that has global administrator rights to the tenancy.
-
Select Azure Active Directory in the left-hand navigation.
-
Select Manage > App registrations in the left-hand navigation.
-
On the App registrations page, select the Graph Console App.
-
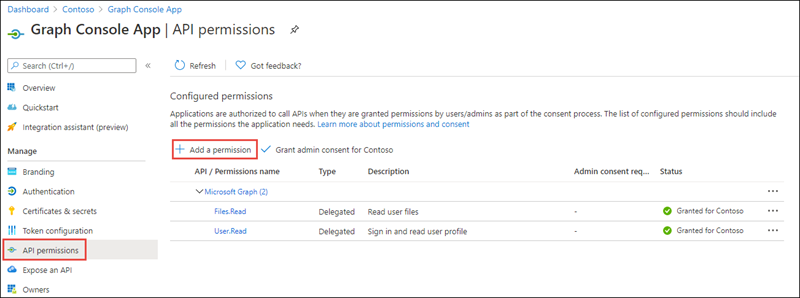
Select API Permissions in the left-hand navigation panel.
-
Select the Add a permission button.
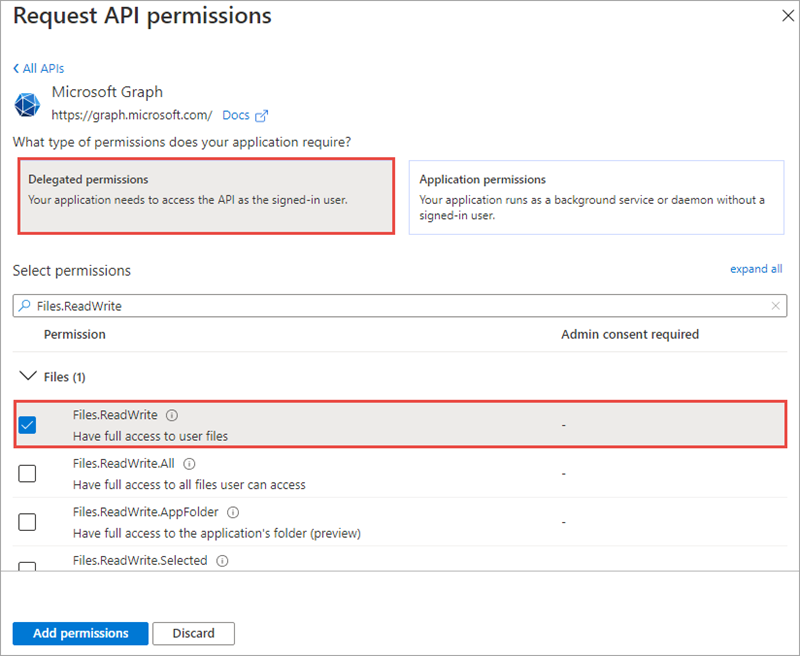
- In the Request API permissions panel that appears, select Microsoft Graph from the Microsoft APIs tab.

-
When prompted for the type of permission, select Delegated permissions.
-
Enter Files.ReadWrite in the Select permissions search box and select the Files.ReadWrite permission, followed by the Add permission button at the bottom of the panel.
- In the Configured Permissions panel, select the button Grant admin consent for [tenant], and then select the Yes button in the consent dialog to grant all users in your organization this permission.
Task 2: Update .NET Core console application to upload a small file
In this section, you’ll update the .NET console app to upload a small file to the user’s OneDrive account.
-
Create a text file named smallfile.txt and fill it with a few paragraphs of text. Save this file to the root of the .NET Core console app’s folder.
-
Locate the Program.cs file from the application you created in a previous unit in this module. Within the
Mainmethod, locate the following line:
Console.WriteLine("Hello " + profileResponse.DisplayName);
-
Delete all code within the
Mainmethod after the above line. -
Add the following code to the end of the
Mainmethod. This code will first get a reference to the file in the project. It will then open the file and upload it using thePutAsyncmethod on the Microsoft Graph .NET SDK:
// request 1 - upload small file to user's onedrive
var fileName = "smallfile.txt";
var filePath = Path.Combine(System.IO.Directory.GetCurrentDirectory(), fileName);
Console.WriteLine("Uploading file: " + fileName);

FileStream fileStream = new FileStream(filePath, FileMode.Open);
var uploadedFile = client.Me.Drive.Root
                              .ItemWithPath("smallfile.txt")
                              .Content
                              .Request()
                              .PutAsync<DriveItem>(fileStream)
                              .Result;
Console.WriteLine("File uploaded to: " + uploadedFile.WebUrl);
Build and test the application
- Run the following command in a command prompt to compile and run the console application:
dotnet build
dotnet run
You now need to authenticate with Azure Active Directory. A new tab in your default browser should open to a page asking you to sign in. After you’ve logged in successfully, you’ll be redirected to a page displaying the message, “Authentication complete. You can return to the application. Feel free to close this browser tab”. You may now close the browser tab and switch back to the console application.
- The path to the uploaded file will be written to the console:

- Open a browser and navigate to the URL written to the console, except omit the filename from the URL. After signing in using the same credentials used when testing the console app, you’ll see the file listed in the user’s OneDrive:

Task 3: Update .NET Core console application to upload a large file
In this section, update the console app upload a large file.
-
Obtain a large file, one at least 5 MB, and copy it to the root of the .NET Core console app’s folder. Name the file largefile.zip.
-
Locate the code you added above for
// request 1 - upload small file to user's onedriveand comment it out so it doesn’t continue to execute. -
Add the following code to the
Mainmethod of the console application. This will get a reference to the large file you copied to the folder:
// request 2 - upload large file to user's onedrive
var fileName = "largefile.zip";
var filePath = Path.Combine(System.IO.Directory.GetCurrentDirectory(), fileName);
Console.WriteLine("Uploading file: " + fileName);
- Add the following code to the end of the
Mainmethod. This will open the file as a stream and create a new upload session using the Microsoft Graph .NET SDK:
// load resource as a stream
using (Stream stream = new FileStream(filePath, FileMode.Open))
{
  var uploadSession = client.Me.Drive.Root
                                  .ItemWithPath(fileName)
                                  .CreateUploadSession()
                                  .Request()
                                  .PostAsync()
                                  .Result;

  // create upload task

  // create progress implementation

  // upload file
}
- Next, add the following code after the comment
// create upload task. This code will create a newLargeFileUploadTaskusing the existing session and stream:
var maxChunkSize = 320 * 1024;
var largeUploadTask = new LargeFileUploadTask<DriveItem>(uploadSession, stream, maxChunkSize);
[!NOTE] If your app splits a file into multiple byte ranges, the size of each byte range MUST be a multiple of 320 KiB (327,680 bytes). Using a fragment size that does not divide evenly by 320 KiB will result in errors committing some files.
- The
LargeFileUploadTaskobject will report the progress of the file upload. To use this capability, create an implementation of theIProgressinterface. Add the following code after the// create progress implementationcomment:
IProgress<long> uploadProgress = new Progress<long>(uploadBytes =>
{
  Console.WriteLine($"Uploaded {uploadBytes} bytes of {stream.Length} bytes");
});
- Finally, upload the file by adding the following code after the
// upload filecomment:
UploadResult<DriveItem> uploadResult = largeUploadTask.UploadAsync(uploadProgress).Result;
if (uploadResult.UploadSucceeded)
{
  Console.WriteLine("File uploaded to user's OneDrive root folder.");
}
Build and test the application
- Run the following command in a command prompt to compile and run the console application:
dotnet build
dotnet run
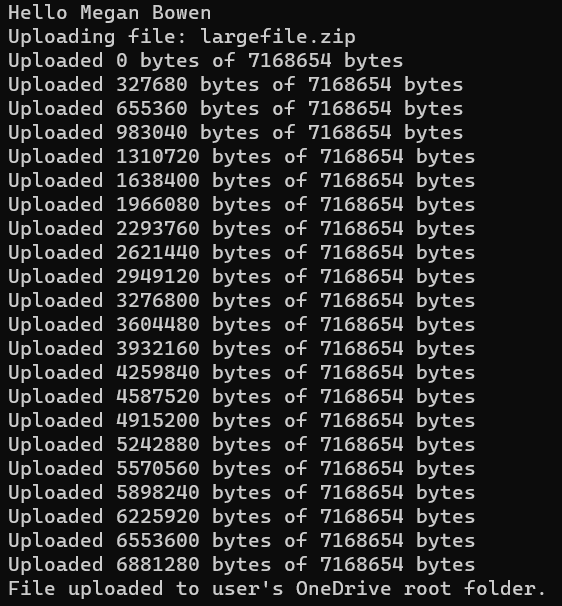
- After you’ve signed in, the console app will write the progress of uploading the file until it’s complete:
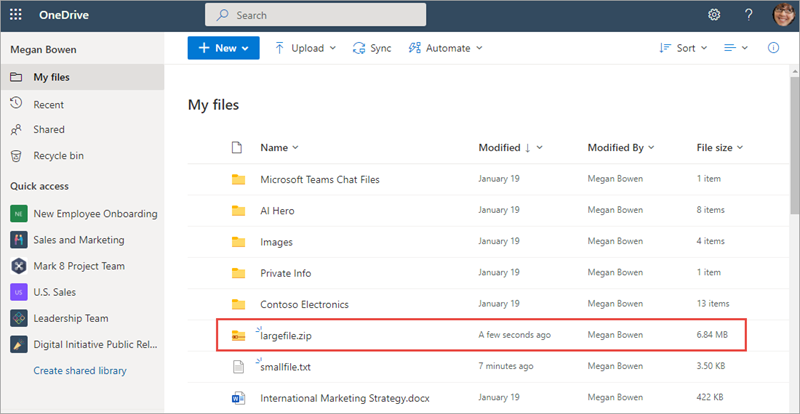
- Open a browser and navigate to the user’s OneDrive account to see the large file that has been uploaded:
Summary
In this exercise, you learned how to upload files to OneDrive using Microsoft Graph, including both small and large files.